Using TunSafe on Windows
TunSafe is available as a 32-bit or 64-bit application for computers running Windows 7 or later. You first need to Download TunSafe.
In order to actually use TunSafe you need an account with a VPN provider that supports the WireGuard protocol. The VPN provider will provide you with a WireGuard configuration file ending with the extension .conf. Make sure you have this at hand because it will need to be imported into TunSafe soon. If you do not have an account with a any TunSafe/WireGuard compatible VPN provider yet then you can use our free VPN servers to get started.
For advanced users, it's also possible to setup a WireGuard server yourself on Linux.
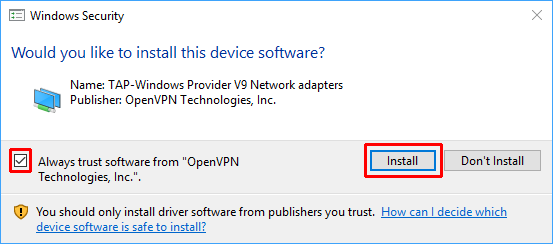
When installing the TAP network adapter kernel module you will need to Confirm the installation. This is the networking component TunSafe uses to capture the TCP/IP packets from your computer. Click Install here.

The main window of TunSafe looks like this:

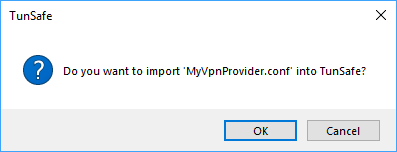
Drag the configuration file that you got from your VPN provider onto TunSafe's window. Alternatively, use the config file from our free VPN servers. A dialog will pop asking you to confirm that you want to import the file. Click OK.

TunSafe will then automatically connect to the VPN server and if everything has worked you should see the message Connection established in the log and you'll get a notification bubble saying that the VPN is now connected.
Now, depending on your VPN provider's exact settings, all your Internet traffic will be routed through the VPN tunnel. The next time you start TunSafe, it will automatically reconnect to the last used server.
The Edit Config button will let you edit the current configuration file in a text editor.
By clicking on the list, you see a menu where you can load one of the available configuration files.

You can also Import a configuration file from this menu, or drag-and-drop a configuration file from another program onto TunSafe. This will make a copy of the file in TunSafe's configuration directory, in C:\Program Files\TunSafe\Config.
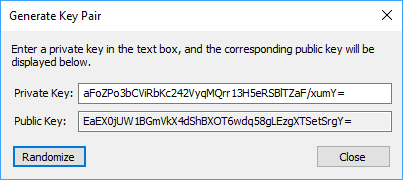
If you press Generate Key Pair you get to see a dialog that randomizes a secure keypair. The private key is used in the configuration file, while the public key will be used on the WireGuard server.

The format of the configuration files uses the same syntax as the wg-quick(8) tool.